


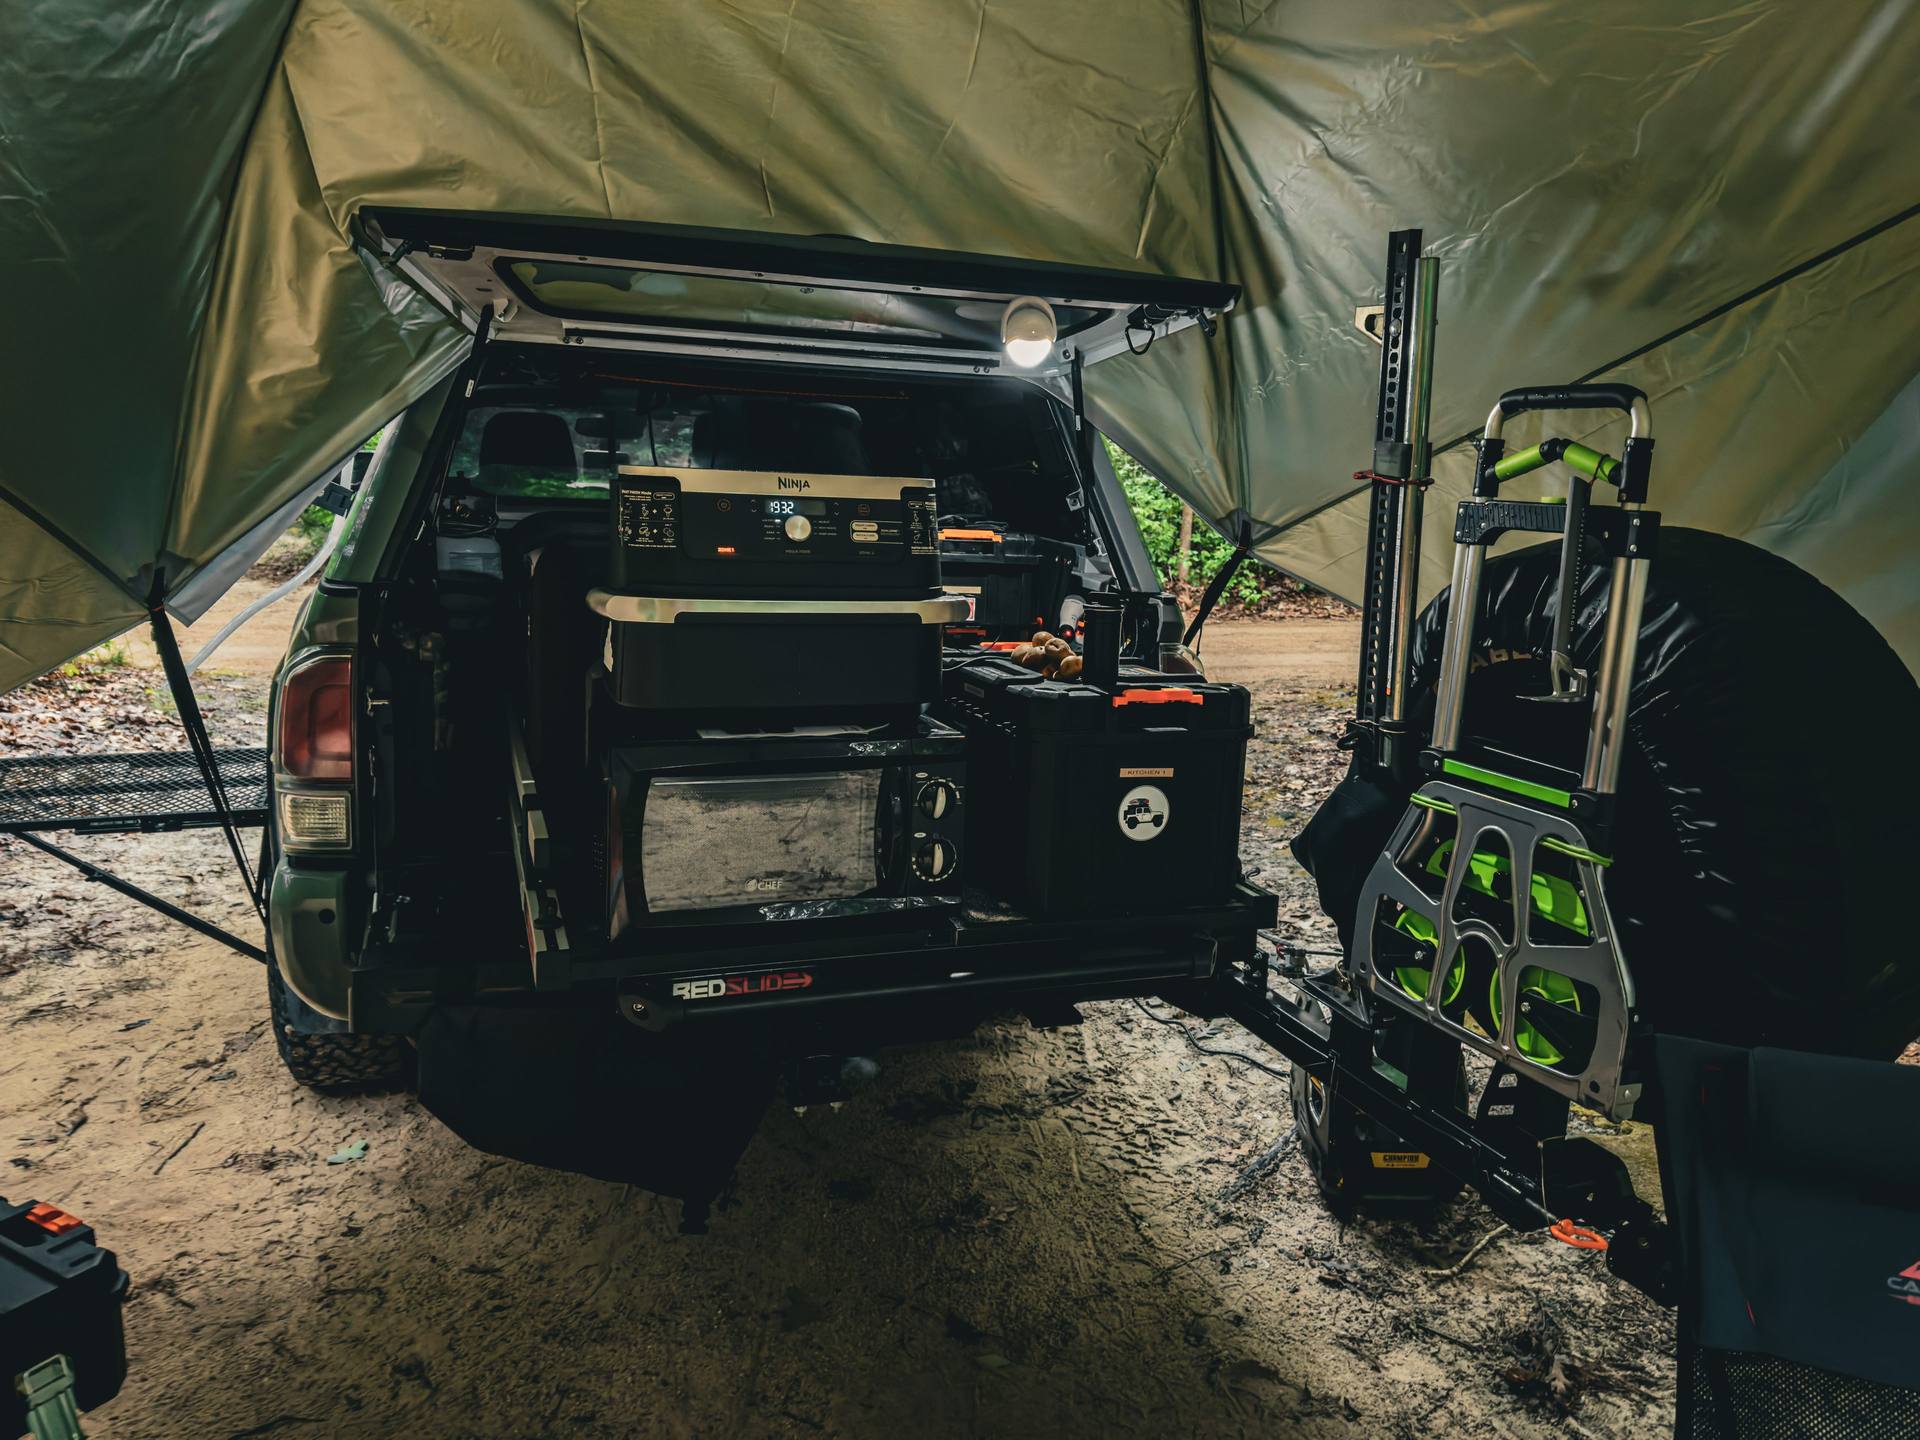
What do I recall from my extensive overland trips in the past few years? Not much, to be honest. It was just a blur of driving, looking for gas stations, trying to reserve camping spots or motel rooms, and – yes – joggling camera batteries and SD cards. But I learned a few tricks I’m willing to share.
All those GoPros, photo cameras, gimbals, drones, and other gadgets need lots of fresh batteries. The solution was to get a big, waterproof case, stick a power strip inside, and pack it full of every type of charger. The only chord that comes out can be plugged into any standard power outlet, be it in the truck bed or the hotel room. This was a fun little project, but let’s talk about SD cards now.
The cards are tiny, have no room for a label, are easily lost or damaged, and tend to multiply like rabbits. I bought this little doohickey that has an SD card reader and lets you attach an SSD disk for making backups with a push of a single button – no need for a laptop or external power. It can be temperamental, but it works in a pinch. Still, this is not a replacement for a laptop; you still need to bring one.
While a Unix engineer, I am not a masochist, so my laptop runs Windows. I wrote a couple of batch scripts to copy data from SD cards to the attached SSD. One script utilizes robocopy, which is a poor man’s version of rsync. The other script uses Unix-style dd installed via Cygwin. If you never heard of either dd or Cygwin – just use the first script.
Here’s how they work. You plug your SD card into your laptop’s reader and attach the external disk used for storing backups. Don’t use the system C: drive, as you will run out of space, and there will be major problems. By default, both scripts assume the SD card is F:, and the target destination is D:\BackupSD. You can specify alternative source and target like so:
sd_card_backup_robocopy.bat "E:\backup_target" "G:"

:: or

sd_card_backup_dd.bat "E:\backup_target" "G:"

:: where "E:\backup_target" is the target for the backup (SDD) and "G:" is your SD card
The robocopy script will be faster as it performs an incremental/differential backup. The dd script will be quite a bit slower as it generates an image of your entire SD card (including all the empty space). However, it has its own advantages as it creates a precise clone of the SD card that can be used to create an identical copy.

Both scripts wil try to read the volume name of your SD card and create the target subfolder matching that name. It is important, therefore, to make sure your SD cards don’t have identical labels. If your card has no label at all, the scripts will create a label that looks like this: sd_YYYYmmdd.
Below are some common operations you may have to perform with your SD cards and SDDs. Everything should be done via the Windows command-line interface (cmd) running with administrative privileges.
Clear all data and format the disk.
C:\WINDOWS\system32>diskpart

Microsoft DiskPart version 10.0.19041.3570

Copyright (C) Microsoft Corporation.
On computer: DESKTOP-GKM9P85

DISKPART> list disk

  Disk ###  Status         Size     Free     Dyn  Gpt
  --------  -------------  -------  -------  ---  ---
  Disk 0    Online          476 GB  1024 KB        *
  Disk 1    Online          931 GB      0 B        *
  Disk 2    Online          931 GB      0 B

:: It is absolutely crucial that you select the correct disk!
:: If you are not 100% certain which disk is which, exit right now.

DISKPART> select disk 2

Disk 2 is now the selected disk.

DISKPART> clean

DiskPart succeeded in cleaning the disk.

DISKPART> create partition primary

DiskPart succeeded in creating the specified partition.

:: For disks or SD cards larger that 32GB (which are all of them, these days), your options
:: for the filesystem type are either exFAT or NTFS, with the former being the more common choice.

:: Keep in mind that formatting can take a long time, depending on the size of your disk.
:: If you're in a rush, add "quick" to the format command below.

DISKPART> format fs=exFAT

  100 percent completed

DiskPart successfully formatted the volume.

DISKPART> assign

DiskPart successfully assigned the drive letter or mount point.

DISKPART> exit

Leaving DiskPart...

C:\WINDOWS\system32>

View, set, or unset the volume label.
:: Read the current volume label for drive F:

C:\Windows\System32>vol F:
 Volume in drive F is sd_20240616
 Volume Serial Number is 0000-0000

:: Remove the current volume label from drive F:

C:\Windows\System32>label F: ''

:: Set a new volume label for drive F:

C:\Windows\System32>label F: sd_20240617

Unmount and “eject” a removable disk.
C:\WINDOWS\system32>diskpart

Microsoft DiskPart version 10.0.19041.3570

Copyright (C) Microsoft Corporation.
On computer: DESKTOP-GKM9P85

DISKPART> list volume

  Volume ###  Ltr  Label        Fs     Type        Size     Status     Info
  ----------  ---  -----------  -----  ----------  -------  ---------  --------
  Volume 0     C                NTFS   Partition    475 GB  Healthy    Boot
  Volume 1         Recovery     NTFS   Partition    499 MB  Healthy    Hidden
  Volume 2                      FAT32  Partition    100 MB  Healthy    System
  Volume 3                      NTFS   Partition    746 MB  Healthy    Hidden
  Volume 4     D   Extreme SSD  exFAT  Partition    931 GB  Healthy
  Volume 5     E                exFAT  Partition    931 GB  Healthy

:: Once again, pay close attention to make sure you select the correct volume!

DISKPART> select volume 5

Volume 5 is the selected volume.

DISKPART> remove all dismount

DiskPart successfully removed the drive letter or mount point.

DiskPart successfully dismounted and offlined the volume.

DISKPART> exit

Leaving DiskPart...

C:\WINDOWS\system32>

:: Now you can sefely yank your SD out of the laptop or unplug the external SDD.
Of course, if you’d like to see more of my photos, please visit my other website.

Experienced Unix/Linux System Administrator with 20-year background in Systems Analysis, Problem Resolution and Engineering Application Support in a large distributed Unix and Windows server environment. Strong problem determination skills. Good knowledge of networking, remote diagnostic techniques, firewalls and network security. Extensive experience with engineering application and database servers, high-availability systems, high-performance computing clusters, and process automation.


