Originally published July 30, 2020 @ 8:47 am
On occasion I wondered how to apply advanced photo filters to my lackluster GoPro and drone videos. You know, not the basic exposure/contrast/saturation or the cheesy special effects you find in video editors, but something you can do to a photo in, say, Photoshop or Lightroom.
Even premium video editors, like Adobe Premiere Pro, offer a limited set of editing tools when compared to the photo editing options of Lightroom. It is understandable, as every enhancement needs to be applied to thousands of video frames, requiring a lot of computing power.
But this is exactly what I wanted to do and the answer was obvious: split the video into individual frames, edit them in Lightroom, and then reassemble them back into a video file.
A video split into individual frames will take a lot more disk space than the original video file. Expect each frame of a 4K video to be about 15MB. For a 30-second video clip at 60FPS, this would translate into about 27GB. You will actually need twice that much, because you also need to store the versions of these images processed in Lightroom (it won’t let you overwrite).
For this reason, I do not recommend you use network storage. What we’re doing here is very disk I/O intensive and using a local SSD will greatly speed things up.
In the following example I do this:
- Extract a portion of the video I would like to edit
- Run it through a stabilization filter
- Split the video into frames
- Process each frame in Lightroom
- Reassemble frames back into a video
- Copy the sound track from the original video file
- Generate side-by-side comparison of the original and the processed videos
Extract a portion of the video
Here I grab the section of the video starting at 23 seconds and the 15 seconds that follow:
ffmpeg -ss 00:00:23 -i original.mp4 -t 00:00:15 -vcodec copy -acodec copy -y original_cut.mp4
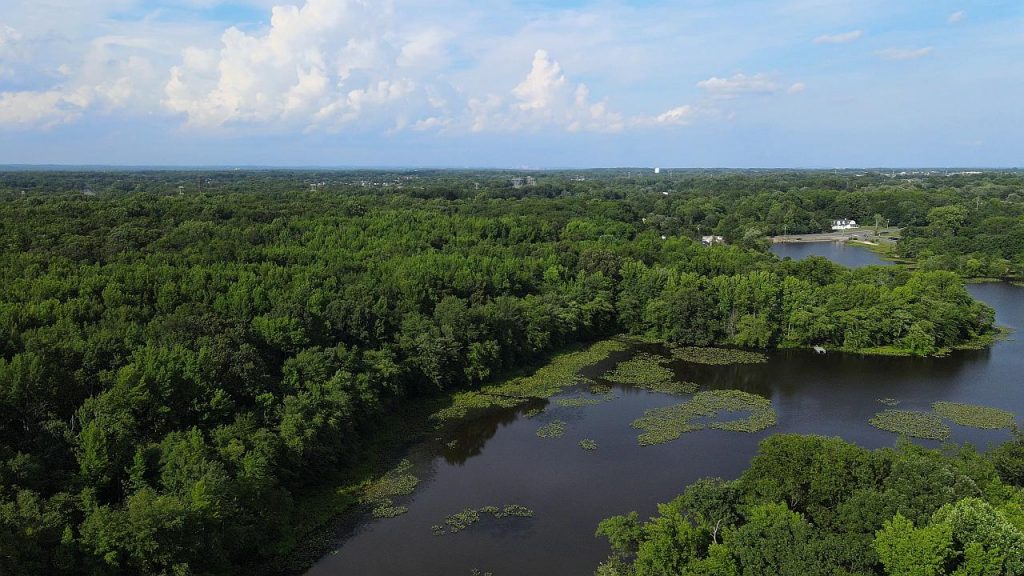
This is the original video clip:
Stabilize the video
One of the key options here is the level of smoothing. In this example I am using 30, which is pretty high.
# Generate transforms.trf
ffmpeg -i original_cut.mp4 -vf vidstabdetect -f null -

# Generate stabilized video
level=30
ffmpeg -i original_cut.mp4 -vf vidstabtransform=smoothing=${level}:input="transforms.trf" -c:v libx264 -preset veryfast -crf 12 -tune film original_smooth_${level}.mp4
Split the video into frames
I am extracting every single frame from my video clip and saving it in PNG format. This may take a bit of time, depending on the duration and resolution of your video file.
ffmpeg -r 1 -i original_cut_smooth_${level}.mp4 -r 1 "frame_%09d.png"
Process frames in Lightroom Classic
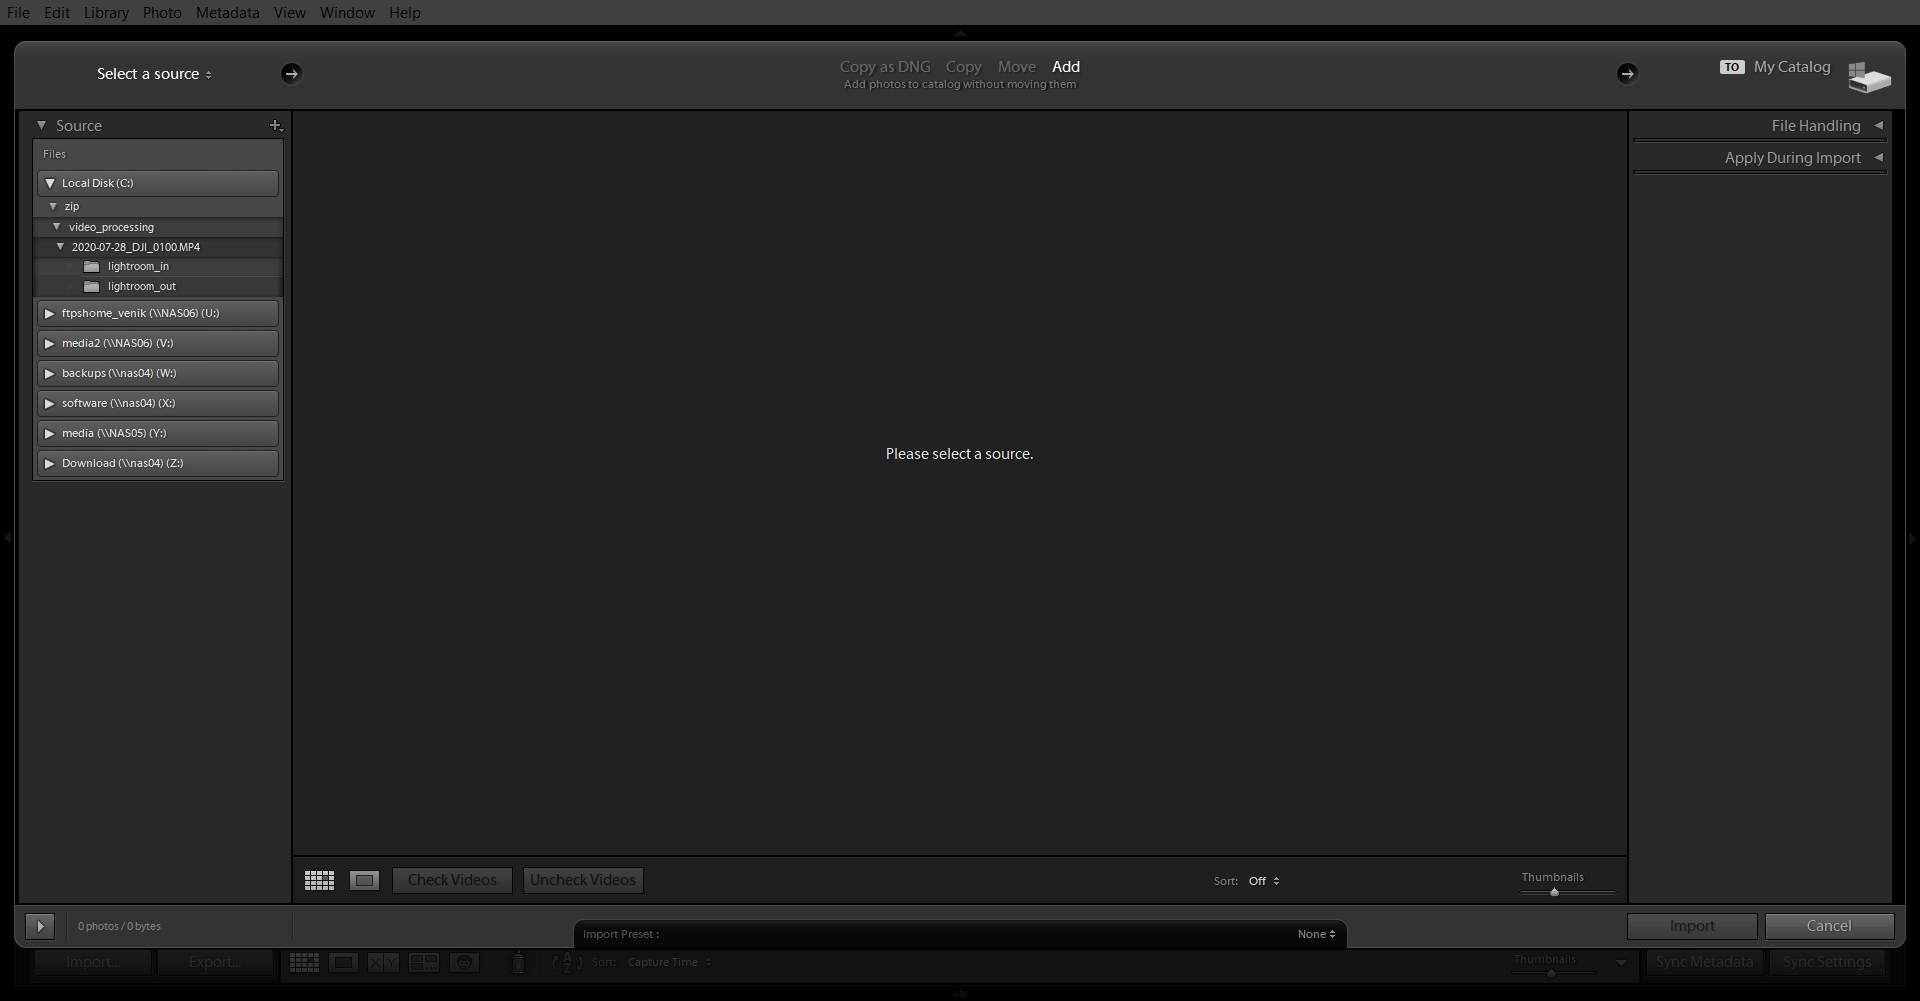
- Import folder with the frame images (CTRL-SHIFT-I)
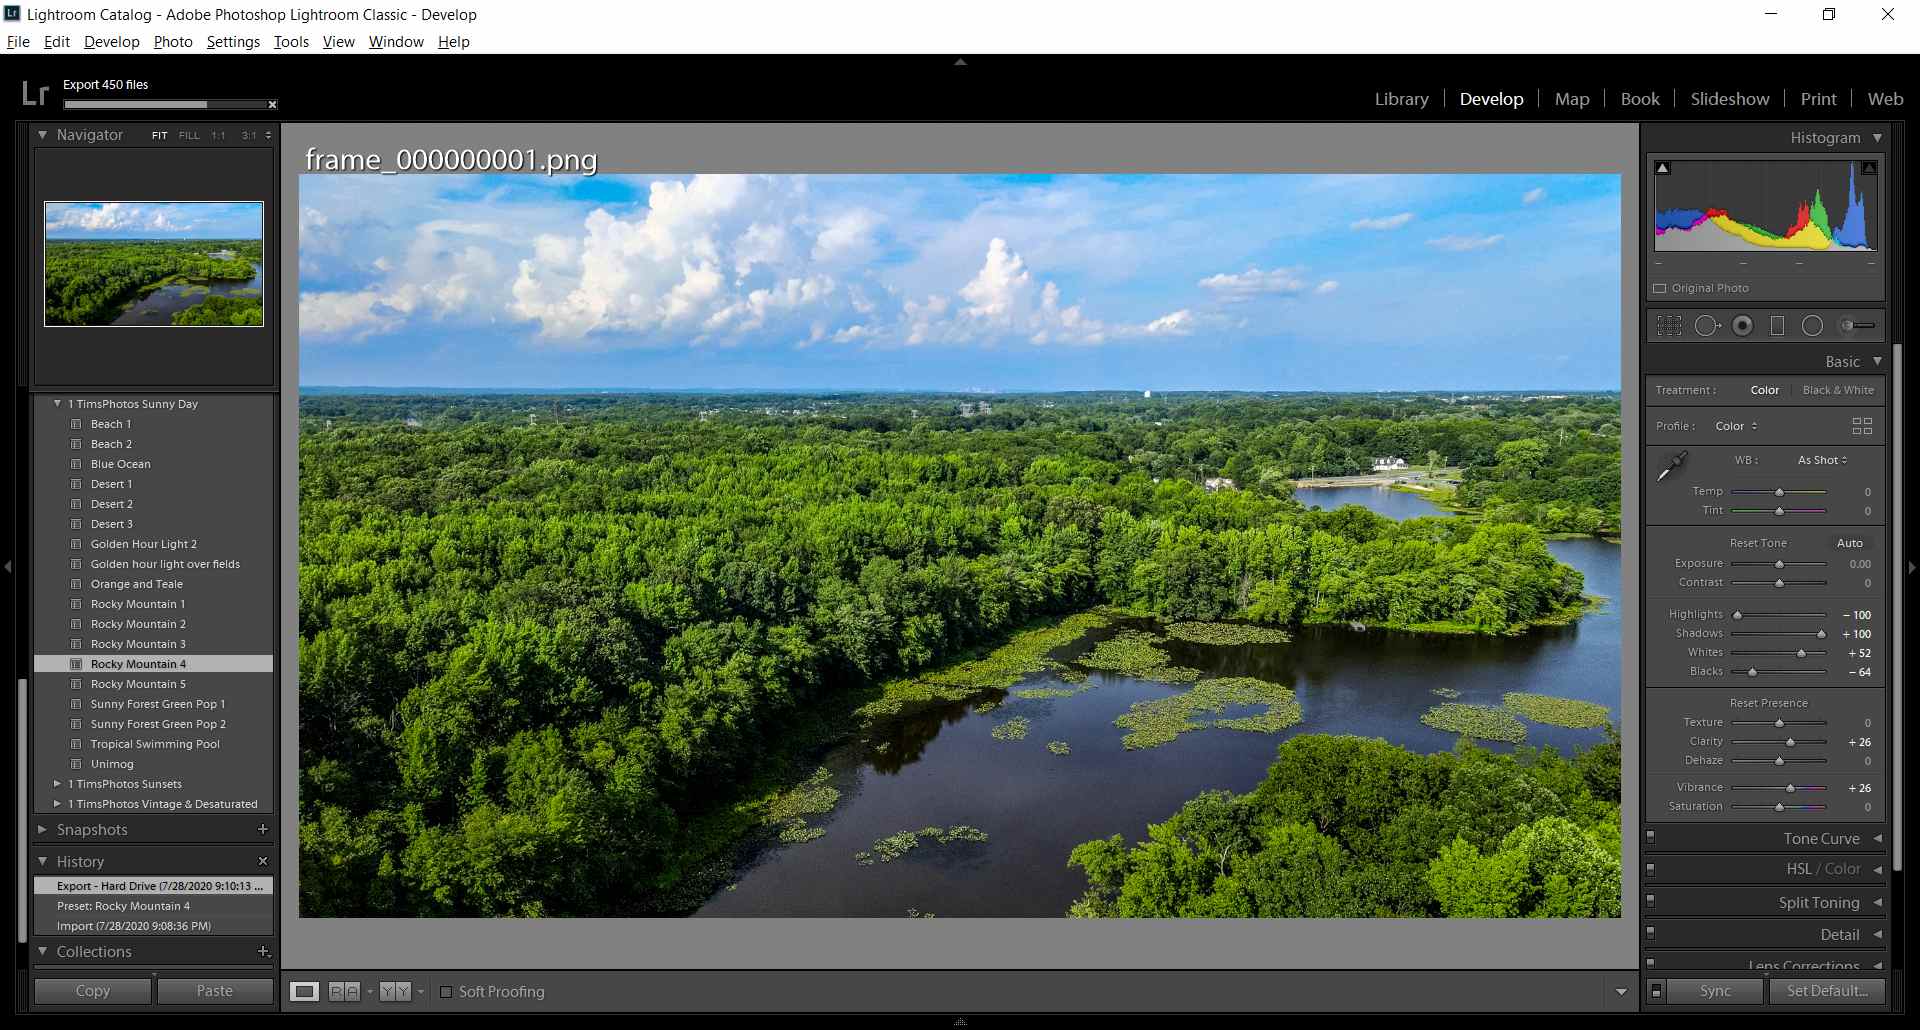
- Click on first frame and go to Develop
- Edit the photo as needed
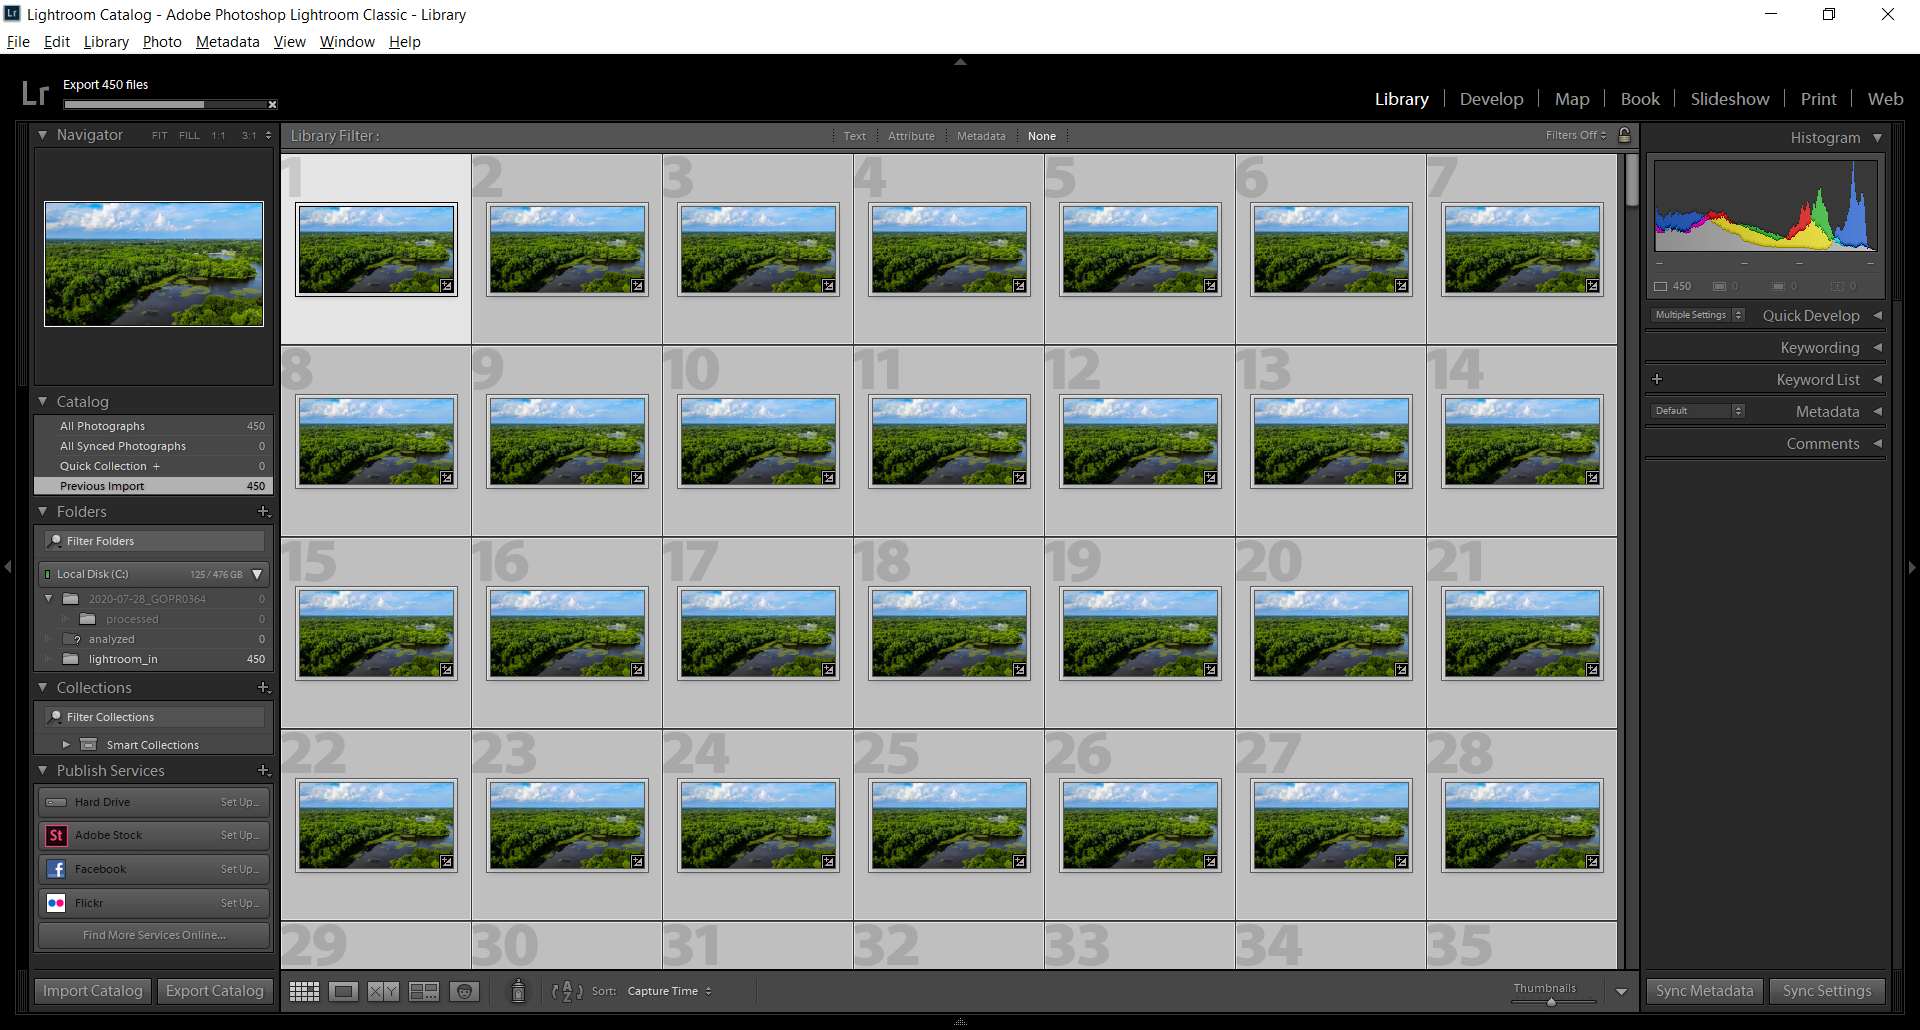
- Go back to Library view and select all frames
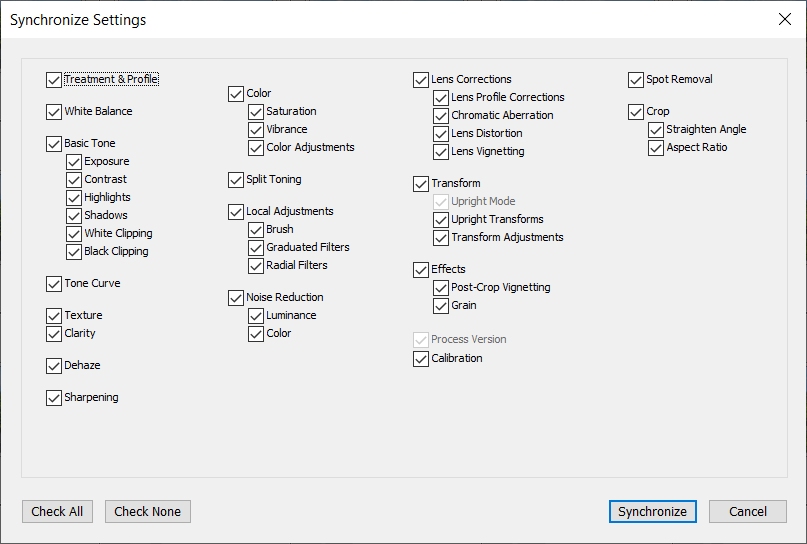
- Click Sync Settings –> Check All –> Synchronize
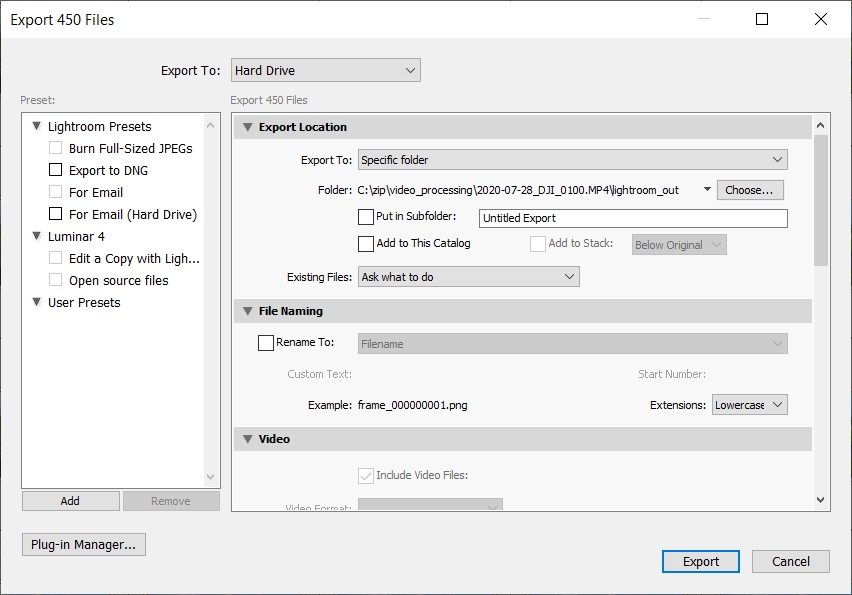
- Click File –> Export (CTRL-SHIFT-E). Specify output folder and File Settings set to PNG
- Delete or archive the original frames and move processed frames to the original location
Reassemble frames into a video
Here it is important to specify the original video’s frame rate (60 FPS, in this case) and resolution (4K UHD 3840×2160).
ffmpeg -r 60 -f image2 -s 3840x2160 -i frame_%09d.png -vcodec libx264 -crf 25 -pix_fmt yuv420p original_cut_smooth_${level}_lightroom.mp4
Copy the sound track
Obviously, since your new video file was made from essentially a bunch of photos, it has no sound. You need to copy it from the original video clip. In this case (and most commonly), video stream would be 0 and audio stream is 1. We are copying audio stream from the first video to the second video that currently has no audio stream.
ffmpeg -i original.mp4 -i original_cut_smooth_${level}_lightroom.mp4 -c copy -map 0:0 -map 1:1 -shortest original_cut_smooth_${level}_lightroom_sound.mp4
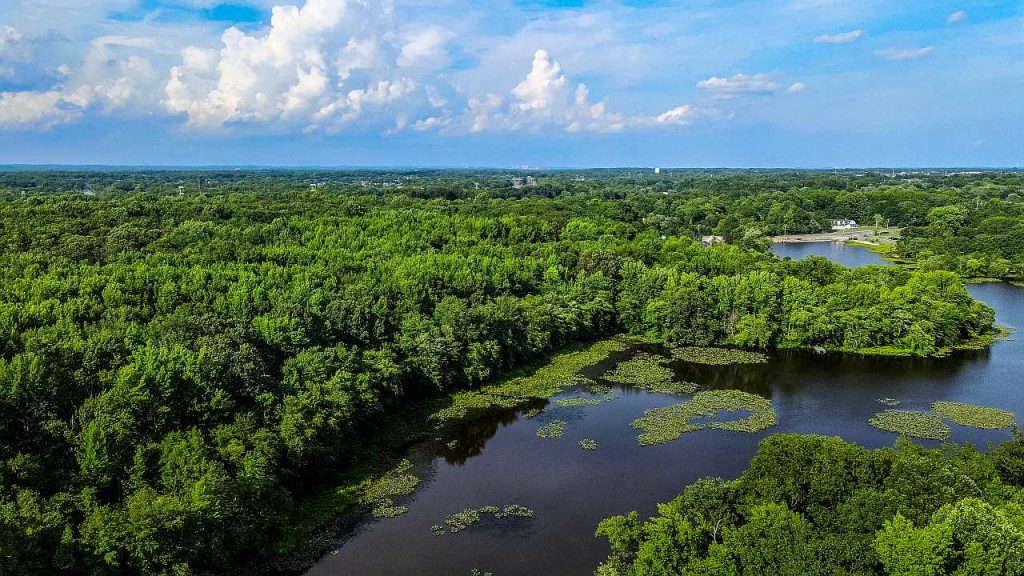
This is the final version of the video after processing in Lightroom:
Generate side-by-side comparison
This is not required, but it may be useful to watch both videos at the same time to appreciate your handiwork.
ffmpeg -i original.mp4 -i original_cut_smooth_${level}_lightroom_sound.mp4 -vcodec libx264 -filter_complex "[0:v]setpts=PTS-STARTPTS, pad=iw*2:ih[bg]; [1:v]setpts=PTS-STARTPTS[fg]; [bg][fg]overlay=w" original_cut_smooth_${level}_lightroom_sound_sbs.mp4
Some comments
So why not use Lightroom’s native video editing capabilities? Yes, you actually can do some video editing directly in Lightroom (I didn’t know that either until yesterday), but the end result leaves much to be desired. Here’s an example of the same video clip with the same presets applied to it directly in Lightroom.
The method described here is time-consuming but not particularly laborious (to your computer – definitely, but not to you) and most of it can be easily automated. In fact, this is precisely the style of video editing done by the pros. Now you know why many high-end post-production video editing outfits have massive HPC clusters.

Experienced Unix/Linux System Administrator with 20-year background in Systems Analysis, Problem Resolution and Engineering Application Support in a large distributed Unix and Windows server environment. Strong problem determination skills. Good knowledge of networking, remote diagnostic techniques, firewalls and network security. Extensive experience with engineering application and database servers, high-availability systems, high-performance computing clusters, and process automation.


